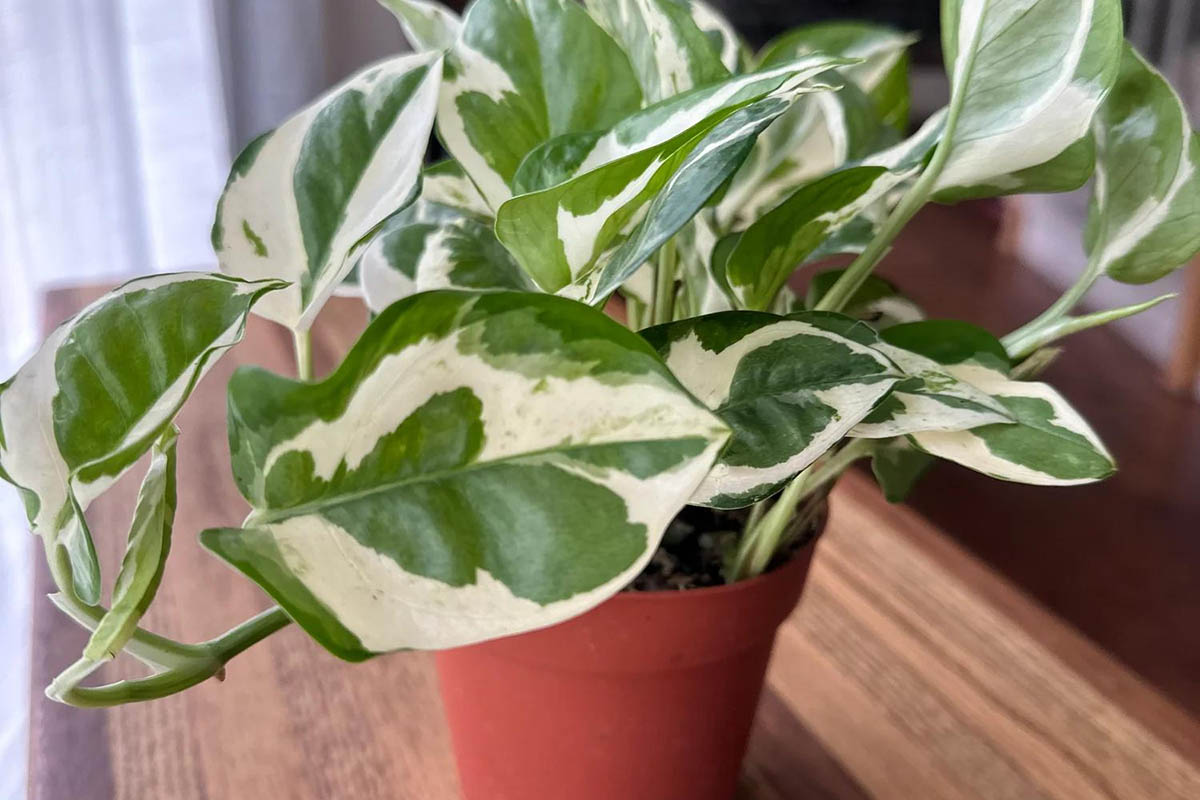
Caring for your pot plants can seem like guesswork if you don’t understand your plants.
You would be surprised by how many pot plants have perished due to guesswork, lack of water, drowning, excess sunlight, too little sunlight and the wrong type of plant food and whether you over or under feed them. There is no such thing as brown thumb, just a lack of know-how, once you have the correct knowledge there really is no mystery to maintaining healthy pot plants.
Many pot plants have been growing and thriving in their ideal natural climates in greenhouses, not just plucked from the wilderness and put in a pot. Many are also hybrids that have been domesticated and pruned long before they reach the shelves.
Creating the same ideal climate or native habitat that they would flourish in naturally is the secret to success with caring for your house plants. Your pot plants are completely dependent on you for food, water and sunlight unlike those in the wild.
Below are several basic house plant caring tips…
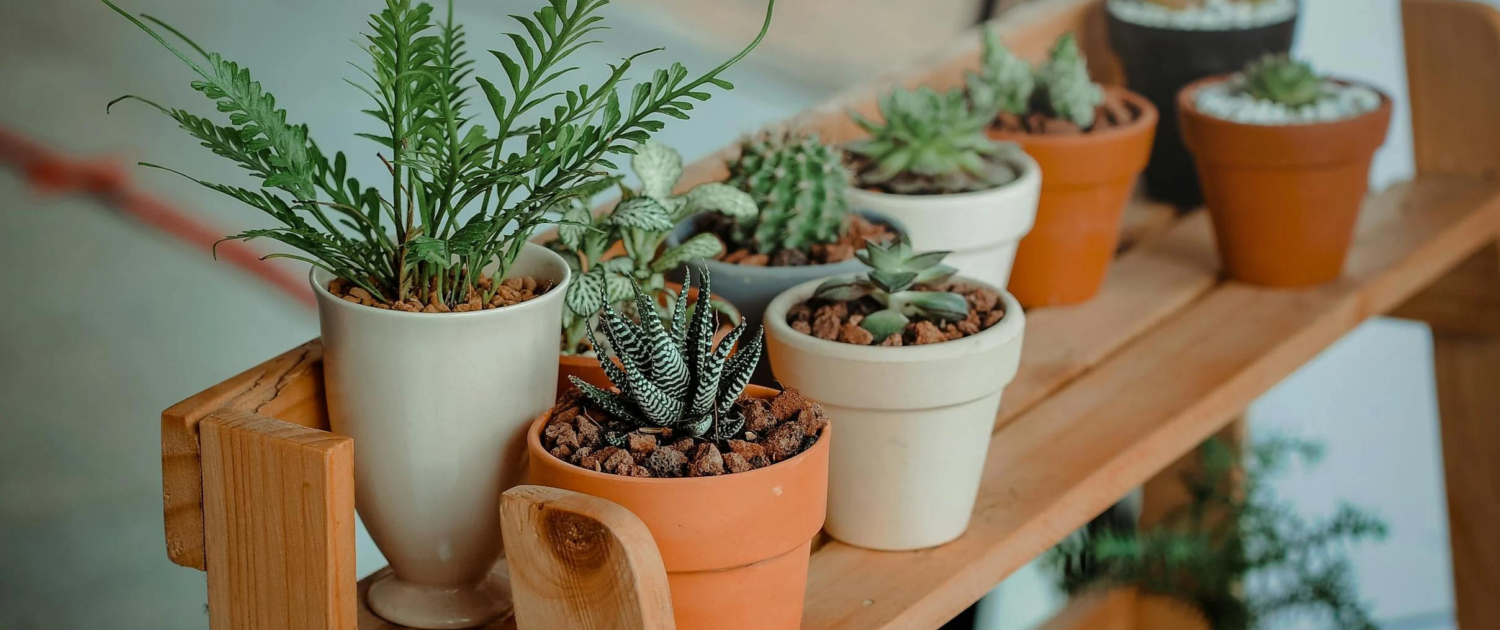
Fertilizing
Each individual pot plants, much like humans, have different nutrient requirements so it’s always best to research your house plants needs and take note of the warning signs of fertilizer overkill.
It is important to read the fertilizer labels carefully because they all differ for each individual plant. Most fertilizers will list three numbers, for example: 10-20-10. These are the ratios or percentages of nitrogen, phosphorus and potassium which combined are the major nutrients in fertilizer.
- Phosphorus – encourages flowering and ensure strong and healthy roots.
- Potassium – helps eradicate diseases and produces strong stems.
- Nitrogen – Enhances growth and lush green foliage.
You will find other small amounts of supplements in fertilizers called micronutrients which can include; calcium, magnesium, Sulphur, copper, iron and zinc. While majority of house plants require a balanced fertilizer such as a 10-10-10 formula, you can find formulas which contain more phosphorus and potassium and less nitrogen which are specifically made for flowering plants like Orchids.
The most common fertilizers are water soluble, which are easy to use and found in the form of powder, crystal or liquid. Another easy fertilizer to use is a slow-releasing granule; all you need to do is sprinkle them on the top soil and when you water your plant they will dissolve. Fertilizer spikes are also good; ensure that you insert the spikes reasonably deep near the rim of the pot to steer clear of harming the roots of the plant. Generally, the roots are responsible for absorbing the nutrients but foliar feeding is a fast way to revitalize a plant that has a lack of nutrients by spraying directly on to the leaves without scorching them, which many fertilizers can do if not applied correctly.
Listed here are some obvious clues as to when your plant might be in need of fertilizing;
- Pale leaves
- Weak stems
- Small or no flowers
- Dropped leaves
- Weak new growth
Beginner gardeners often believe that more is better when it comes to fertilizing house plants, this is NOT the case. Excessive fertilizing can burn leaves and roots! The symptoms for over-fertilization include; misshaped or wilting leaves, brown spots or scorched edges on the leaves and white crust on the exterior of the potting mixture.
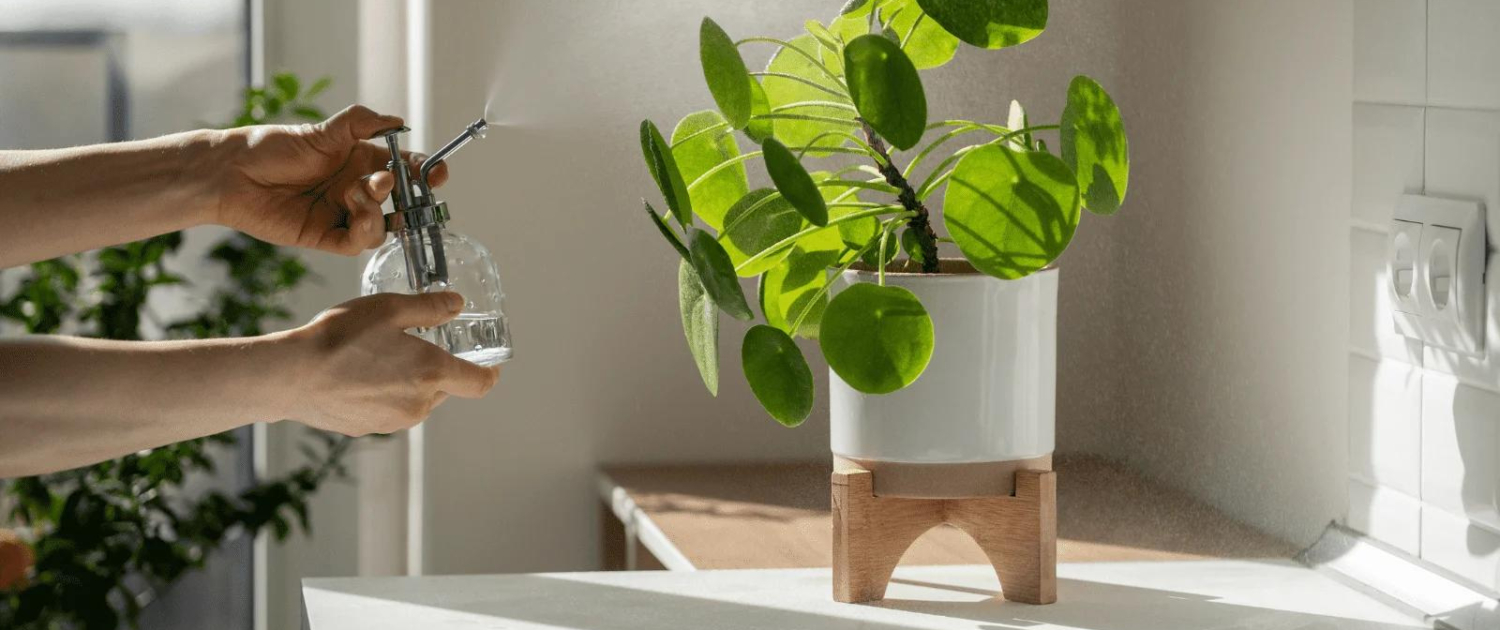
Watering Your Pot Plants
Watering Your Pot Plants
Most people don’t realize it, but it is extremely easy to drown your house plants, so it is vital for you to acknowledge if a particular plant is actually thirsty. You can easily test this by poking your finger into the soil roughly an inch deep and if it feels damp its fine, but if it’s dry you obviously need to water it. Another way to measure the moisture in the soil is via a moisture meter.
Over-watering your plant is more often the cause of your house plants issues rather than under-watering. Since roots only soak up a sufficient amount of water to sustain the plant, the surplus of water is left in place of the oxygen in the soil which asphyxiates the roots and causes rotting.
If you have mistakenly water-logged your house plant and wish to rectify the situation there are three things you can try;
- By covering the top soil with paper towel you can absorb any excess moisture ensure that you repeat until the paper towels are no longer saturated.
- Re-pot it straight away into a pot with good drainage and fresh soil.
- Allow the extra water to drain out by tipping the plant on its side for a few moments.
Sunlight for Your Pot Plant
It can be difficult to know if your house plants are receiving the correct amount of sunlight so here is some insight to guide you through the process.
When your pot plants are NOT getting enough sunlight;
- Slow growth or none at all
- Fresh shoots grow toward the light
- Large gaps between the leaves and a spindly growth
- Poor bloom or failure to bloom at all
- Leaves turn yellow and drop off
- Fresh leaves grow much smaller than the current ones
When your pot plants are getting TOO much sunlight;
- Leaves appear faded and dull
- Leaves become parched and fall off
- Leaves have brown scorched patches
- The entire plant starts to wilt
There are four categories of sunlight exposure for pot plants, direct sun, indirect sun, partially shaded and shaded.
Direct sunlight is quite self explanatory, keep your pot plants directly in the sun so it is flooded with sunlight.
Indirect sunlight is a little trickier, you can place your pot plant on a veranda or under a thin shade cloth, just as long as your pot plant only receives several hours of indirect sunshine per day.
To obtain partial shade or low sunlight it is best to place your pot plant somewhere where the morning sun reaches, as it is cooler than the afternoon sun and avoids over heating your plant. Otherwise you can put your plant up against a tree or fence etc, which provides the plant with low to medium sunlight intensity.
A shaded location, again, speaks for itself. The plant can be anywhere in the yard so long as it’s shaded throughout the day.
Re-potting Your Potted Plants
Re-potting Your Potted Plants
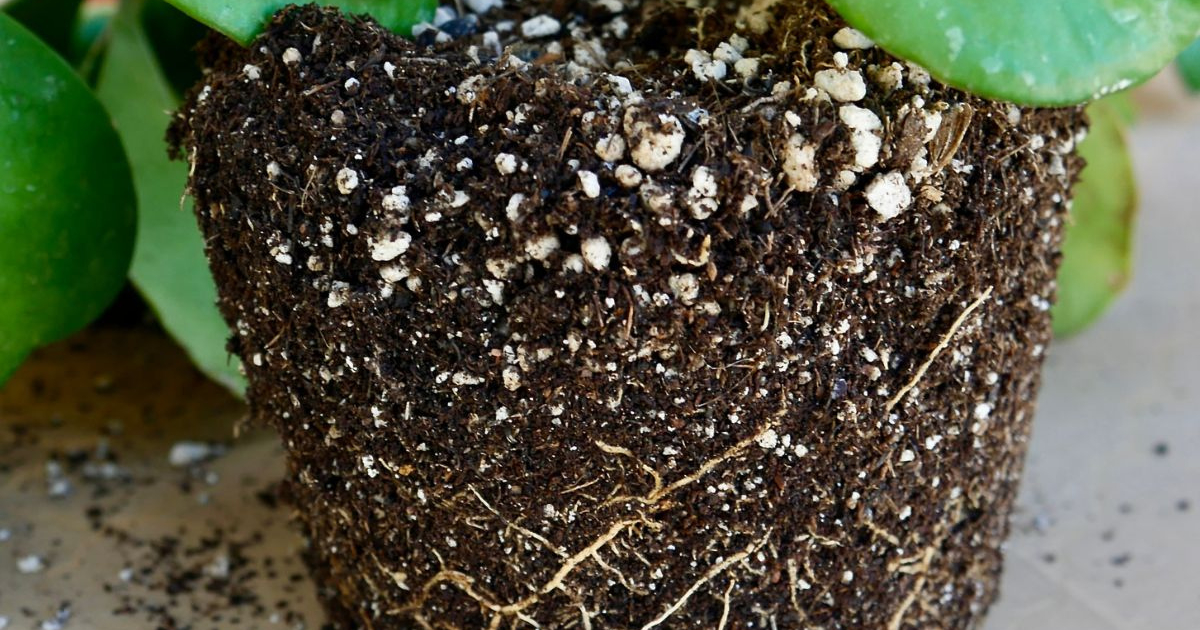
Re-potting is always guaranteed to become necessary sooner or later. If you fail to move your plant to a larger pot your plants will become pot-bound where the roots grow to be cramped and form a compacted mass that hinders further growth. The most obvious signs that your plants need to be re-potted are when the roots start emerging through the top soil and the drainage holes. If you turn your plant carefully on its side and ease it out of the pot you will be able to see whether the roots have coiled at the bottom, if so, it’s certainly time to re-pot. At least once a year, your smaller, more vigorously growing plants ought to be re-potted into somewhat bigger pots along with a fresh potting mixture. Larger pot plants like the Ficus need only to be re-potted every two years.
When choosing a new pot or container always ensure that it has drainage holes and is no more than 2 inches wider or deeper than the previous pot. When the roots are given too much room to grow the top of the plant will cease to grow until the roots start to fill the pot, also a larger pot can hold more water and as mentioned before, excess water will cause root rot. Always scrub pots between plantings to prevent the transfer of plant diseases, soaking the pots in a one part chlorine bleach to nine parts water is a great way to disinfect the pot. Be sure to thoroughly rinse with clean water. Terra cotta pots are known to steal moisture from the potting mixture and leave the plant thirsty, to remedy this it is best to soak it in water for a few hours.
Step by Step Instructions on Re-potting Your Plant
- Turn your plant on its side, gently ease the plant out of the pot, if it seems stuck, tap the pot on a hard surface to loosen the soil or use a trowel around the inside of the pot being wary not to maim the roots.
- Use your fingers to gently pull any coiled roots straight and prune them to promote fresh root growth.
- Partially fill up the new pot with your desired potting mixture, center the plant in the pot, then continue to fill the remainder of the pot. Once it is full gently pack it down with your fingers.
- Thoroughly water the pot to settle the potting mixture and moisten the roots, if needed add more soil.
Re-potting plants can be stressful for them and they need time to recover therefore it is recommended that they are not exposed to direct sunlight for a short time and the soil is to be kept moist but not soggy.
Start working with the best and most trusted lawn care contractors in British Columbia today. Call Jim’s Mowing at 310-JIMS or book a FREE QUOTE online today!
Jim’s Mowing Canada British Columbia Service Areas:
Abbottsford. Aldergrove, Ambleside Park, Anmore, Arbutus Ridge, Armours Beach, Atchelitz, Barnston Island, Barrowtown, Beacon Hill Park, Brentwood Bay, Burnaby, Burnaby Lake, Cassidy, Central Saanich, Chemainus, Chilliwack, Clearbrook, Cloverdale, Colvilletown, Colwood, Comox, Comoz, Coquitlam, Cordova Bay, Courtenay, Cowichan Valley, Cultus Lake, Deer Lake Park, Delta, Dunbar-Southlands, Duncan, East Side, Esquimalt, Filberg Park, Gibsons, Glenn Valley, Goldstream, Horseshoe Bay, James Bay, Kerrisdale, Kilgard, Killarney, Kitsiland, Langford, Langley, Lantzville, Lindell Beach, Lighthouse Park, Lower Ten Oaks, Maple Ridge, Marpole, Metchosin, Mission, Mt Burke, Mt Douglas Park, Mt Pleasant, Nanaimo, Northridge, North Saanich, North Vancouver, New Westminster, Oak Bay, Oaklands, Pitt Meadows, Penticton, Port Coquitlam, Port Moody, Promontory, Renfrew-Collingwood, Royston, Ruskin, Saanich, Saanichton, Skaha Lake Park, Sidney, Silver Valley, Sooke, South Vancouver, South Wellington, Squamish, Sunset, Surrey, Surrey Newton, Swartz Bay, Upper Ten Oaks, Victoria, Victoria-Fraserview, View Royal, Walnut Grove, Websters Corners, West Bench, West Vancouver, Westwood Plateau, White Rock, Whonnock, Willbank Creek Park.

